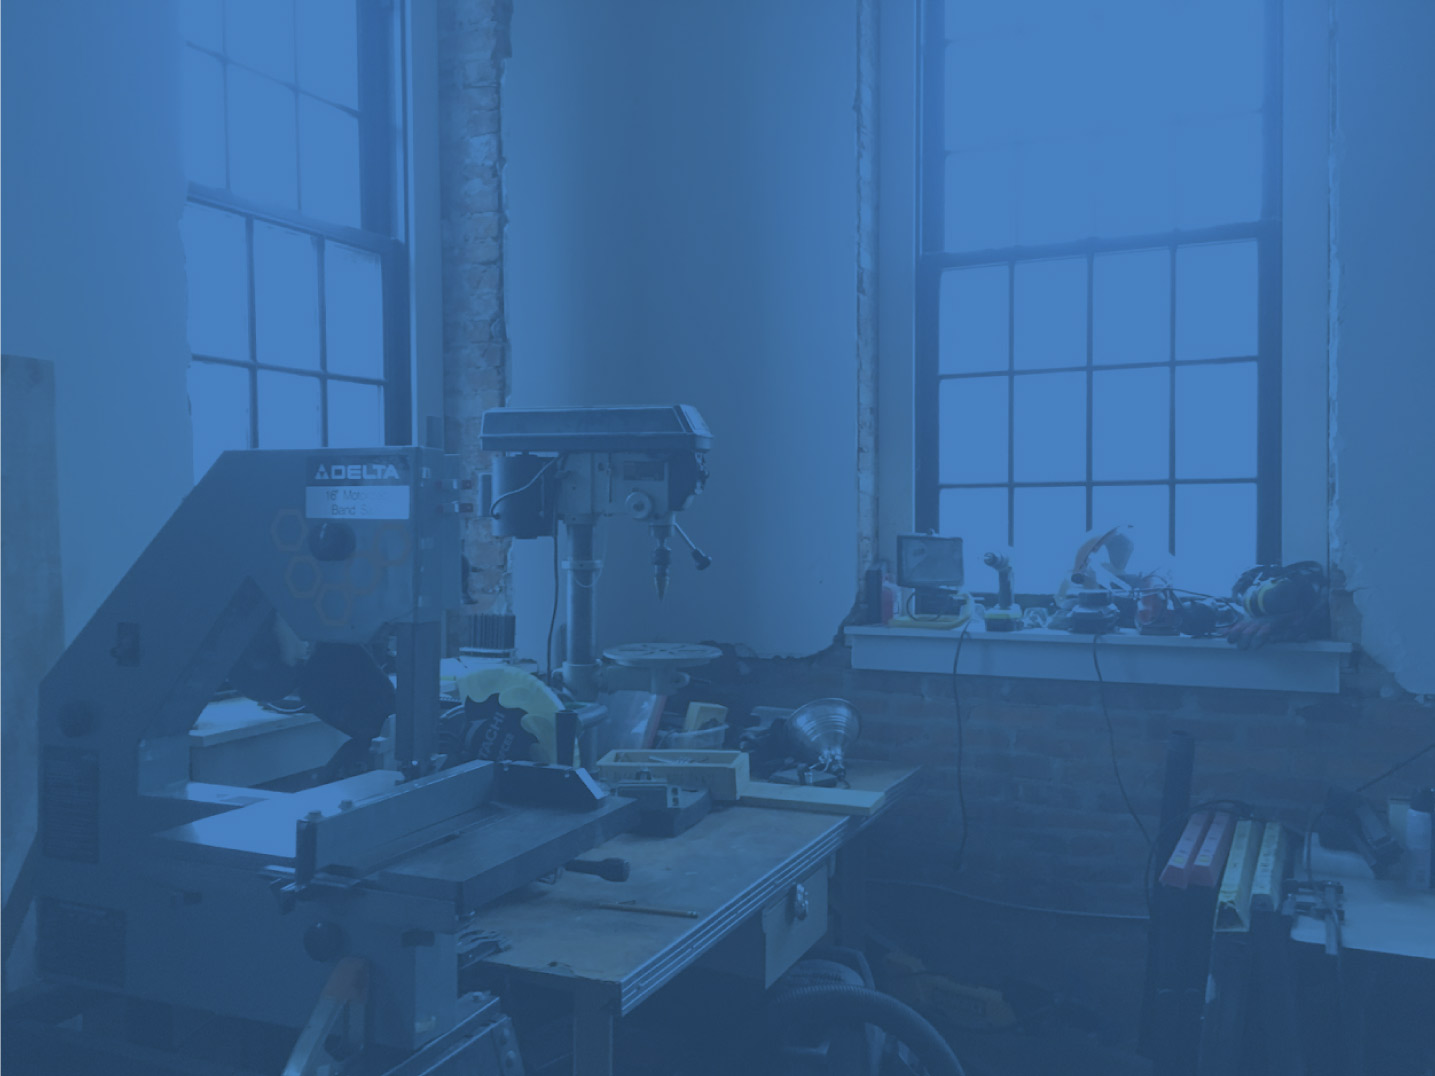
Adam and I have been talking for a while about a little collapsible photo studio for posting images to the blog and to instructables. Well, its here now, for all to use! All I did was take a roll of photo background paper and mount it semi-permanently above our main workbench. To use it, pull down a length of paper to cover the desk, then turn on the fluorescent work-lamps. The paper rolls back up out of the way when you aren’t using it. Here are some spiffy test shots I took of one of Chris’ sculptures. Neat, huh?

Open House for 8/31
We’re going to be trying to make our own ferrofluid on Tuesday night to have available to play with on Wednesday night. If our efforts are successful, then for Open House we’ll show you how to make it using old audio cassette tapes and acetone. I don’t know what kind of results to expect, but here’s a video giving an idea of the extreme:
DIY Scratch I/O Board Using Arduino

I downloaded Scratch to play with it after a presentation on E-Textiles at UPenn back in April. I found it kind of interesting, and I was particularly interested in the “Scratch Sensor Board“, which provides a way to send physical signals into Scratch scripts and have Scratch respond to them. It’s a pretty simple protocol, and I filed away “build a Scratch sensor board” as one of those projects that I might do … someday. Well, nothing like being stuck at home during a major weather event to crank up the boredom level to the point that ya gotta do something. So, courtesy of Hurricane Irene, here’s a DIY Scratch Sensor written as an Arduino Sketch.
This sketch uses information that you can download here. You may need to use the Scratch Board Watcher to get things cooking 100%. For example, this is how I learned that the sense of the Button input is inverted.
/*
This code emulates a Scratch Sensor board
*/

// --- sends serial bytes corresponding to a signal with value given by "data"
//     coming from the channel designated by "channel"
//     data is in the range 0 .. 1023 inclusive and generally gets mapped to the range 0 .. 100 by Scratch
void sendScratchData(int channel, int data);

int buttonPin = 2;   // Change this if you want to use some other pin for the Button input. Just don't use pins 0 or 1.
int ledPin =  13;    // LED connected to digital pin 13. I used this just to monitor the request/response traffic

void setup() {
  pinMode(buttonPin, INPUT);
  pinMode(ledPin, OUTPUT);

  // Set baud rate expected by Scratch sensor:
  Serial.begin(38400);
}

void loop()
{
  int inByte;
  // if we get a valid byte, send the scratch data
  // Technically, we should check that the value is a 0x01 byte,
  // but, meh ...
  if (Serial.available() > 0) {

      // toggle the LED so that we can see the request/response activity
      // this is optional, really
      digitalWrite(ledPin, ~digitalRead(ledPin));

      // get incoming byte:
      // we really should test the value, but meh++
      inByte = Serial.read();

        sendScratchData(0,analogRead(0)); // Resistance "D" is mapped to Analog 0
        sendScratchData(1,analogRead(1)); // Resistance "C" is mapped to Analog 1
        sendScratchData(2,analogRead(2)); // Resistance "B" is mapped to Analog 2
        sendScratchData(3,digitalRead(2) * 128); // Button is mapped to Digital 2
        sendScratchData(4,analogRead(3)); // Resistance "A" is mapped to Analog 3
        sendScratchData(5,analogRead(4)); // light is mapped to Analog 4 (signal is inverted)
        sendScratchData(6,analogRead(5)); // sound is mapped to Analog 5
        sendScratchData(7,0); // slider did not map slider, but any analog input could be moved here.
        sendScratchData(15,4); // version info The current version is 4
  }
}

void sendScratchData(int channel, int data){
   byte highByte;
   byte lowByte;
   data = data & 0x3FF;
   highByte = 0x80 | (channel << 3) | (data /128);
   lowByte = data & 0x7F;

   // --- send the data
   Serial.write(highByte);
   delayMicroseconds(400);
   Serial.write(lowByte);
   delayMicroseconds(1000);
 }
Neighborhood Cleanup 9/5
The block on which our building for our space sits is a bit of a… wayward soul. There is a lot of garbage tumbleweeding through the street, giant weeds poke up through the sidewalk everywhere, and a smattering of graffiti makes someone’s presence known.
Well, we’ve decided to clean it up. All of it. Next Sunday, September 5th, from 12pm to 5pm, we’ll meet at the space and just start doing. We originally planned to do it this weekend, but the IMPENDING DOOM NAMED IRENE has forced us to postpone.
Bring what you can, plastic garbage bags, shovels and rakes, brooms, leftover paint, etc. Don’t forget some heavy gloves, there are a lot of broken glass and other sharps in the area.
If you can’t make it to this date but still want to help out, we will have other dates in the near future, so stay tuned to the blog for future announcements.
Open House 08/24/2011 Recap
For Wednesday’s Open House, we experimented with using simple, house-hold items to etch common, metallic objects. We found that candle wax, melted in a thin layer on the surface to be etched, worked as an excellent resist material. The firmness of the wax helped to keep the scratch lines straight, while the thickness of the paperclip made for a consistent stroke. We also tried acrylic paint as the resist, but it quickly dissolved under the cotton swab. We also tried the ink of a permanent “Sharpie” marker, but that was also easily dissolved under the cotton swab. We had other resist materials available to us, but these were the only ones that were “household” items.
Once the resist is set and the design is scraped out of the resist, the anode (negative terminal) of a 9v battery is attached to a bare metal area of the object, and the cathode (positive terminal) is attached to a cotton swab soaked with very salty (NaCl, common table salt) water. Within a few seconds, the electrolysis process creates a weak hydrochloric acid solution that eats away the steel of the object. After etching to the desired depth, the polarity of the connections can be reversed to oxidize the bare metal, as the now-anode cotton swab will produce oxygen molecules out of the electrolised water.
Here are some photos of our efforts.


In addition to the electro-etching, we also had some fun toys to play with.


And then I just had fun taking photos of stuff.


Stop by next time when we bust out the big guns and… it’s a secret! Come by and find out!
Art at Hive76
It’s not all about circuits and microcontrollers and chemistry at Hive76; we love art and we love making art in an incredibly dynamic environment that has become a second home for many of us. With the hustle and bustle of an active workshop, not a lot of people notice the artwork scattered around our humble space. Some is from our members, some is from artists in our building, and all of it is a delightful expression of the duality of art and engineering that makes us what we are: hackers.


MAKE Blog Love for Dave Sharp
One of our members, Dave Sharp, recently showed up on the MAKE Magazine Blog in their post on the Lockheed Samarai. You can see Dave piloting the maple-leaf-inspired drone in the video after the jump.
Dave joined us back in early February of this year. He does amazing work with raw fabrication of contraptions. For our exhibits at the PAFA “Grossed Out” event, he built a giant pantograph used with a USB-microscope to etch small designs on microscope slides. It was one of the most complete “DIY” builds I’ve ever seen; extremely clean and professional. Just like Dave.
We love having him as a member and look forward to seeing what else he comes up with.
Open House for 8/24

This Wednesday night, during Open House, we’re going to be doing some basic electro-etching. The technique is very simple–requiring little more than a 9v battery, some wire, a cotton swab, some salt water, and nail polish–and takes very little time to get very good results (actually, it works so quickly that you have to be a little careful of eating through thin materials).
I did this earlier today with the back of my Zippo, though I was a little sloppy and went a little too long. I’ll be trying this out with a knife blade on Wednesday, as well as the lid of my computer. Bring your stuff in and let’s have some fun personalizing our stuff.
Open House 8/17/2011 Recap
It’s been a while since we’ve had something to talk about for Open House! Believe me, I missed activity at Hive76, too. But that’s what happens in the summer, people jaunt away to far off lands for this thing called “Vacation” and forget to send us post cards. You wouldn’t forget to send Hive a post card, would you? (HINT: Our address is Hive76, 915 Spring Garden St., Suite 519, Philadelphia, PA 19123)
Ira Laefsky, Mike Hogan, Ben Sautner (developer of Nimbits, a “free, social and open source platform for the internet of things on the cloud”) and I had a lively discussion on The Internet of Things. Right now, it’s a very informal group of people interested in such things as home automation and data aggregation. If such things interest you, use any of the means available here to contact me and we will get you on the mailing list.
We have a new membeeeeeeerr! WHAAT? We totally did. Everyone give a big, ol’ “Hi-diddly-hey, neighbor” to David Morfin!

- Mighty Morfin Power Ranger

A bunch of faces where in our spaces last night.


And I forgot to get any pictures of myself. Guh, sorry. I know you miss me.
I’m working on rebuilding a toy electronic keyboard:


And we also played with some glow in the dark tape and an ultraviolet flashlight.
Also, take note, we’re going to be restarting the Open House Mini Projects very soon. I’ll post a more formal announcement later, but look forward to custom etching anything you own that is metallic!
Philadelphia Geek Fest

Friday was a bust — weather was bad and I unexpectedly got stuck at work.
Saturday was, by objective measures, not a good day. We had almost no traffic at our spot and one of Matt’s giant QR posters went missing sometime during the day. But it was a good day .. for whatever unfathomable reasons. Matt and Chris showed up with a RepRap and had live 3D printing demos for hours. We ended up giving away a plastic octopus to some jewelry vendors that we met at random when they parked on my lawn. The solar weenie roast worked reasonably well (film to come) and we got an MSP430 POV working to display the message “HELLO ARLO” (film of this on the way as well, you can find source code here). Matt and Chris used the UV flashlight and the glow-tape pad to design the 5×5 fonts that we used for the POV — it was ingenious. They would draw the character and when I saw it, I was able to work out the hex codes in my head. We also used the fresnel lenses to turn ordinary LED flashlights into blinding search beams — when you take even a small light source and focus it to a beam, it’s shockingly bright over surprising distances.
Sunday — who knows — things are fluid …
I think we’ll try to do this next year, but with a bit more preparation .. and Matt suggested maybe we can get on the fairgrounds proper to do our thing, which I think is a fine idea.
